Using Filters
Merch Jar gives you the ability to filter records that appear in tables across app modules. These can be used in tandem with bulk actions on specific campaigns, ads, keywords, or targets using any of the available metrics to give more control over your data.
Set Filters:
Navigate to any module that has a Filter button.
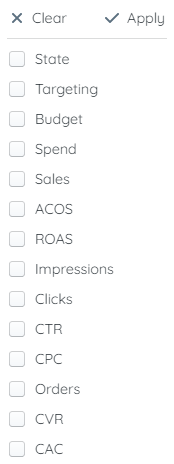
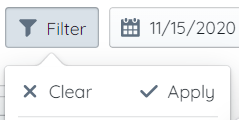
Click the Filter button to bring up a list of available filters.
Use the selection boxes to select which filters you would like to use. Multiple filters can be applied at the same time.
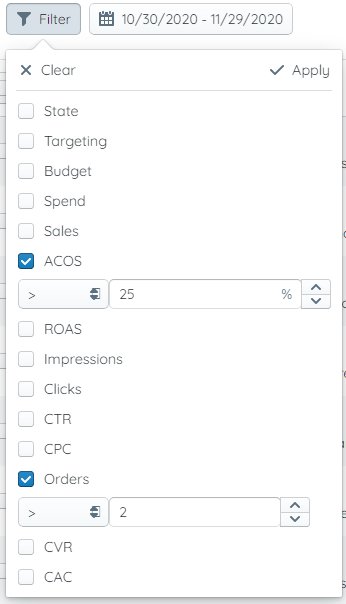
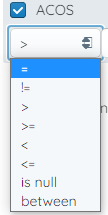
Use the dropdown boxes and input fields for each of the filters you selected.
Click 'Apply' to set the filters.
The table will update with your filtered results.
The filters you've applied will appear next to the 'Filter' button.
To change or modify applied filters, click the 'Filter' button again and make your adjustments.
To remove a filter, simply click the "X" next to the applied filter. To remove all filters, click the Filter button and then click 'Clear'.


Save Filter Configurations:
It's possible to save filter configurations in the Merch Jar app. This feature lets you apply previously-created filter combinations using easy-to-access shortcuts.
Navigate to any module that has a Filter button and click it to bring up the filter menu.
Select your desired filters and modify their settings.
Hover over 'Saved Filters' and click 'Save'.
A pop-up will appear where you can name your filter configuration. Once completed, click 'Done'.
Your filter configuration has been saved and applied. These filters can be re-applied at any time by hovering over 'Saved Filters' in the filter menu and clicking on the configuration name.